


Are your excavator’s hydraulic pump acting up and causing delays? Hydraulic pump issues can slow down your operations, but repairing them can save your time and money.
As an expert in excavator repairs, I’ve seen how hydraulic problems, if ignored it will lead to costly breakdowns. That’s why you should trust me to help keep your equipment running smoothly.
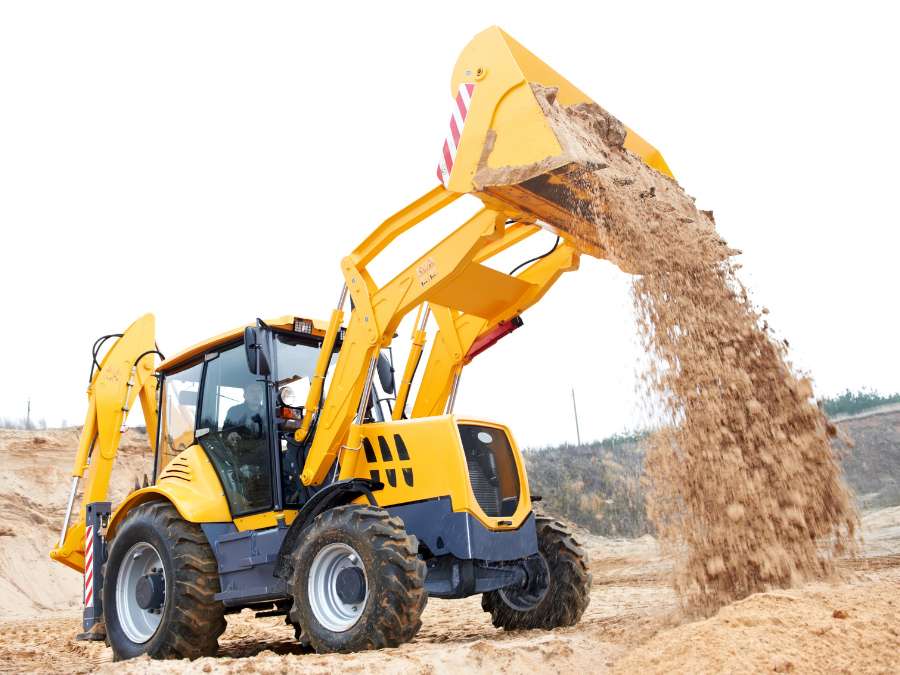
Hydraulic pump repair is a critical part of excavator maintenance. A well-maintained hydraulic pump ensures that your equipment operates efficiently, reducing the chances of breakdowns and costly replacements.
In this guide, you’ll learn how to spot problems, the tools needed for repair, and step-by-step instructions to fix your hydraulic pump.
Let’s dive in!
Step#1 Diagnose the Problem
Identifying the hydraulic pump issue is the first step in the repair process. Here are 4 clear steps to help you diagnose the problem:
- Check for Leaks: Visually inspect the hydraulic system for any signs of fluid leaks. Look around hoses, seals, and the pump for oil or pooling fluid.
- Monitor Pump Pressure: Use a pressure gauge to measure the pump’s output. Low pressure could signal internal wear or a blockage.
- Examine Fluid Condition: Check the hydraulic fluid for discoloration or a milky appearance. This can indicate contamination, which can affect pump performance.

Step#2 Gather Tools and Parts
Now that you’ve diagnosed the problem, it’s time to gather everything you need for the repair. Here are the steps to follow:
- Identify Necessary Tools: Based on the diagnosis, list out tools like wrenches, screwdrivers, and pressure gauges. Using the right tools is essential to confirm that all dimensions are accurate, affecting the product’s functionality. Here are the essential tools you will need for hydraulic pump repair:
| Tool | Description |
| Wrenches (various sizes) | For loosening and tightening bolts and fittings of different sizes. |
| Screwdrivers (flathead & Phillips) | For removing screws and small components during disassembly. |
| Pressure Gauge | To measure hydraulic system pressure and maintain proper function. |
| Socket Set | For accessing and removing bolts in tight spaces, especially in hard-to-reach areas. |
| Pliers | For gripping and removing smaller parts; needle-nose pliers are particularly useful. |
| Seal Removal Tool | For safely removing seals without damaging surrounding components. |
| Torque Wrench | For applying the correct amount of torque to bolts, preventing over-tightening. |
| Hydraulic Hose Removal Tool | For disconnecting hydraulic hoses safely, minimizing risk of hose damage. |
- Locate Replacement Parts: Check which parts need replacing, such as seals, gaskets, or the pump itself. Prepare them in advance to have them ready when starting the repair.
- Prepare Safety Gear: Gather safety equipment like gloves, goggles, and work boots. Having these on hand helps prevent injuries during the repair process.
- Organize the Workspace: Set up a clean, well-lit workspace with all tools and parts easily accessible.
Step#3 Ensure Safety and Preparation
After gathering the necessary tools and parts, it’s time to prepare the work area and follow safety steps. Here are the essential steps to follow:
- Wear Protective Gear: Put on gloves, safety goggles, and sturdy boots to protect yourself during the repair.
- Turn Off the Excavator: Fully shut down the excavator and wait until all moving parts have stopped before starting any work.
- Disconnect the Battery: Remove the battery cables to cut all electrical power from the machine and prevent accidental activation.
- Clear the Work Area: Remove any tools, debris, or unnecessary items from around the excavator. Open windows or doors to ventilate the area for better airflow. In fact, a research from University of Arizona reveals that having clean workplace can increase by 15% of productivity.

Step#4 Depressurize the Hydraulic System
Now that completing safety and preparation is done, the next step is to depressurize the hydraulic system. Here are the steps to keep in mind:
- Locate the Pressure Valve: Find the hydraulic pressure valve on the system. This valve is usually located near the pump or along the hydraulic lines.
- Turn Off the Hydraulic Pump: Power off the hydraulic pump to stop the flow of fluid.
- Open the Pressure Valve: Slowly open the pressure valve to release any built-up pressure. Allow the fluid to drain completely before moving forward.
- Check Pressure Gauge: Use a pressure gauge to confirm that the system is fully depressurized. Once the gauge reads zero, you can safely proceed to the next step.
Step#5 Remove the Hydraulic Pump
After depressurizing the hydraulic system, the next step is to remove the hydraulic pump. Here are the steps to follow:
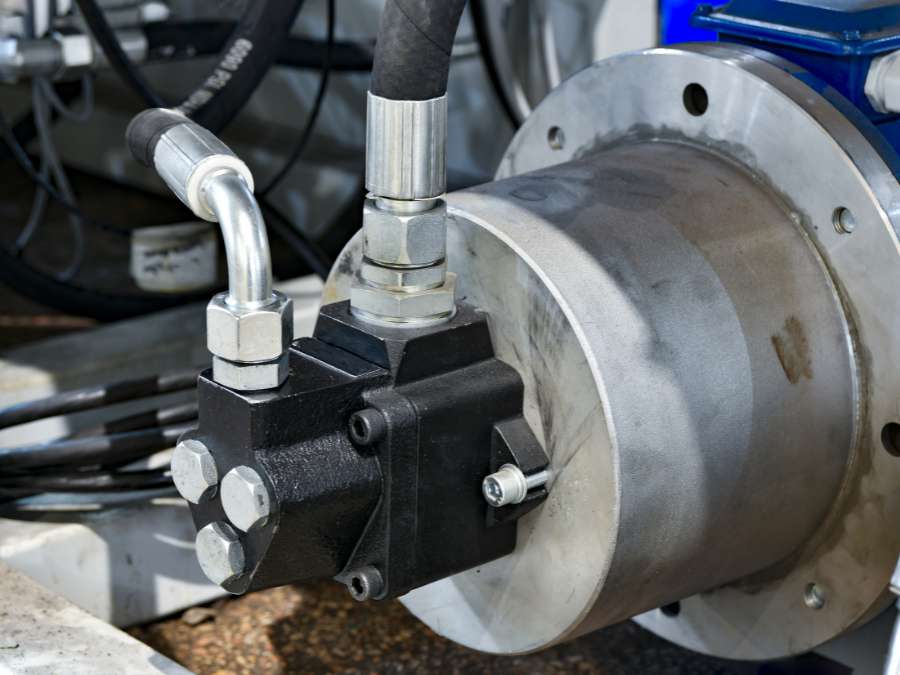
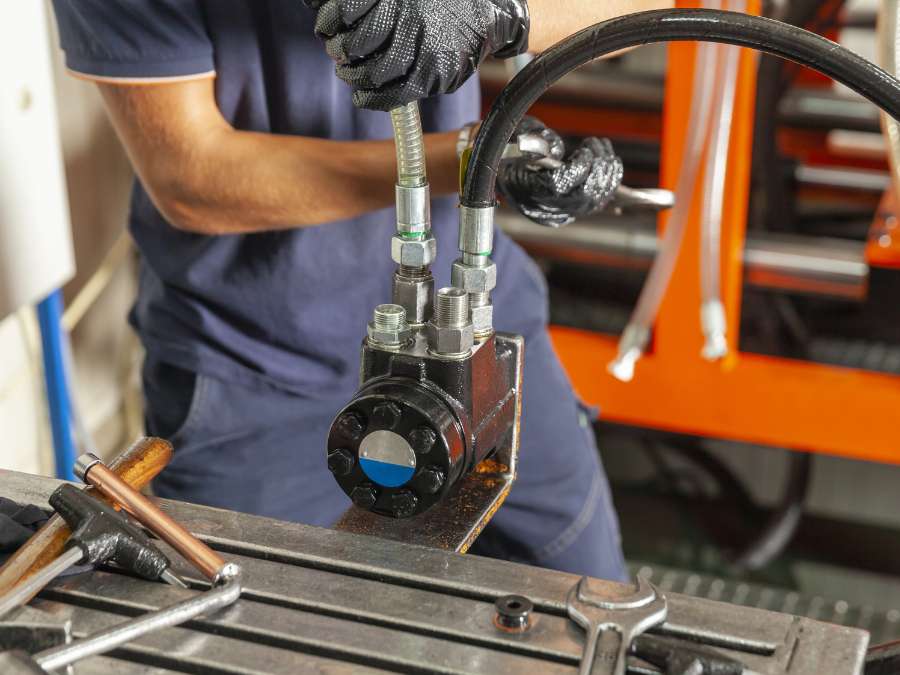
- Disconnect Hoses: Start by disconnecting the hydraulic hoses attached to the pump. Use a wrench to carefully loosen and remove the fittings.
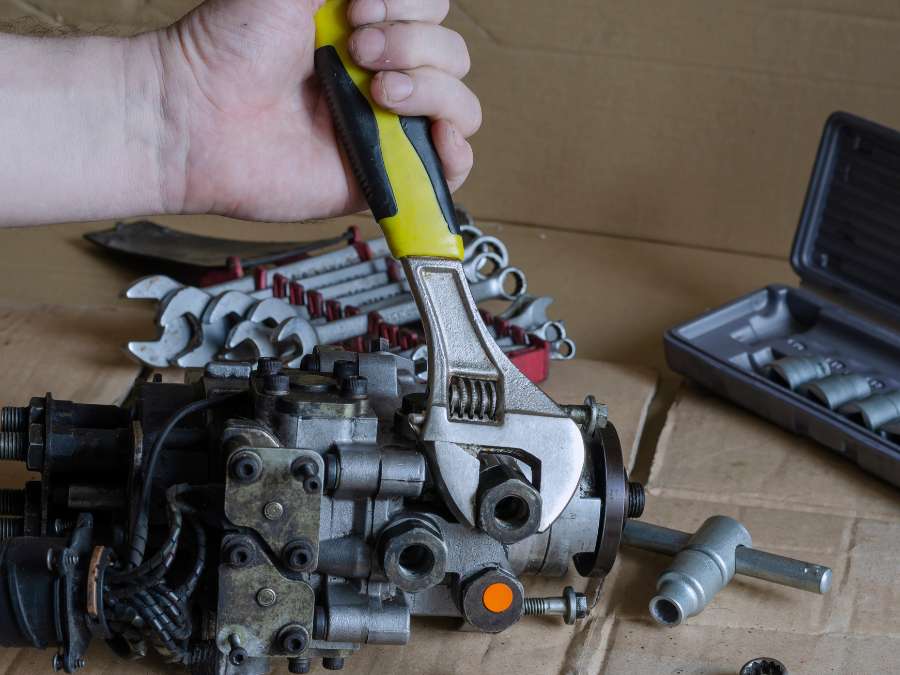
- Remove Mounting Bolts: Locate the bolts securing the pump in place. Use the correct socket size to unscrew and remove all the mounting bolts.
- Lift the Pump: Once the bolts are removed, carefully lift the hydraulic pump from its position. Use a hoist if necessary to avoid strain or injury.
- Set the Pump Aside: Place the pump in a safe location away from the work area. For example, place it on a clean, stable surface like a workbench or table, guaranteeing it won’t be bumped or damaged during repairs.
Step#6 Disassemble the Pump
Now that removing the hydraulic pump is performed, the next step is to disassemble it for inspection and repair. Here are the essential steps to follow:
- Remove the Housing Bolts: Start by loosening and removing the bolts that hold the pump housing together. Use a socket wrench to carefully remove all the bolts.
- Separate the Pump Housing: Gently pull apart the pump housing, make sure not to damage any internal components. Set aside the housing pieces in an organized manner.
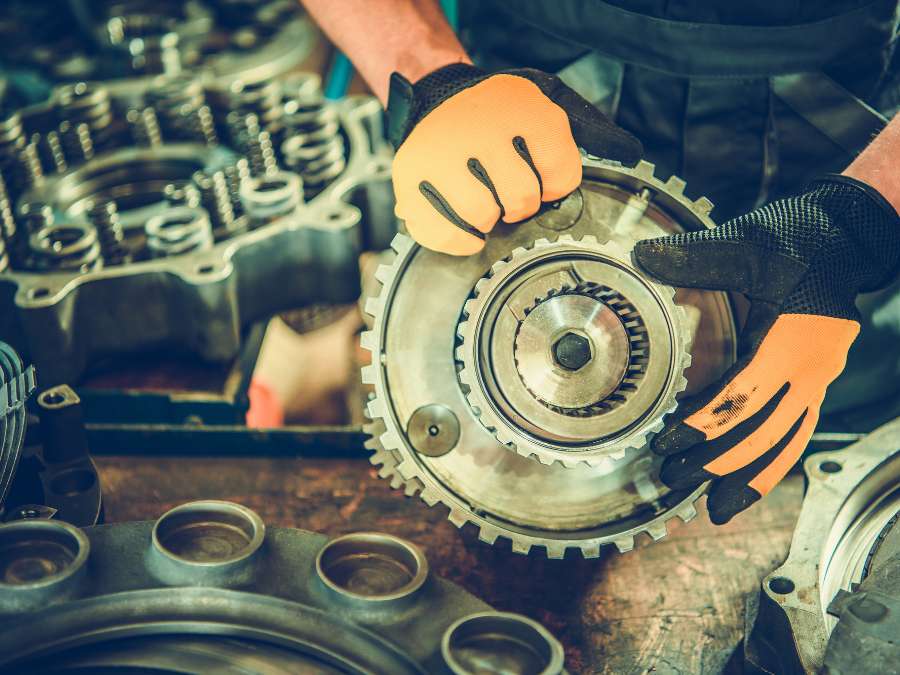
- Take Out Internal Parts: Remove the internal components like gears, seals, and shafts. Place them in order, so you can reassemble them correctly later.
- Inspect Parts for Damage: Examine each internal part for signs of wear, cracks, or damage. It helps you identify which parts need replacing.
Step#7 Clean and Replace Parts
With the pump disassembled, the next step is to clean and replace any worn parts. Here are the steps to follow:
- Clean the Parts: Use a degreaser and a clean cloth to thoroughly wipe each part. Make sure to remove all dirt, oil, and grime from the surfaces.
- Inspect Seals and Gaskets: Carefully examine the seals and gaskets for any cracks or damage. Replace any that are worn or compromised to avoid leaks.
- Replace Worn Components: Identify any internal parts, such as gears or shafts, that are damaged. Fit new components in place, verifying they match the original specifications.
- Lubricate Moving Parts: Apply hydraulic fluid or lubricant to all moving parts. Proper lubricate it and make sure the pump functions smoothly during reassembly.
Step#8 Reassemble the Hydraulic Pump
Once the parts are cleaned and replaced, it’s time to reassemble the hydraulic pump. Here are the steps to follow:
- Install Internal Components: Place the gears, seals, and shafts back into their original positions. Align each part carefully to match its original placement. I suggest also checking all internal components, if any replacements are needed, contact EPO. We produce high-quality excavator parts for your specific needs.
- Attach the Pump Housing: Fit the housing pieces back together. Make sure the edges are fully aligned before securing them with bolts.
- Tighten the Housing Bolts: Insert the bolts into the housing and tighten them evenly with a socket wrench.
- Check Alignment: Inspect the alignment of all internal components and housing. Confirm everything is securely positioned before moving on to the next step.
Step#9 Reinstall the Pump
After reassembling the hydraulic pump, the next step is to reinstall it back into the excavator. Here are the essential steps to keep in mind:
- Position the Pump: Carefully lift the hydraulic pump and place it back into its original mounting location. Align it with the mounting holes.
- Insert the Mounting Bolts: Insert the mounting bolts into the pump and tighten them evenly using a wrench. Make sure all bolts are securely fastened.
- Reconnect Hydraulic Hoses: Reattach the hydraulic hoses to the pump fittings. Tighten the connections with a wrench to avoid any leaks.
- Reconnect the Battery: Reattach the battery cables to restore electrical power. This prepares the machine for testing after the reinstallation.
Step#10 Test the Excavator
After reinstalling the hydraulic pump, the next step is to test the excavator to verify everything is functioning correctly. Here are the steps to follow:
- Start the Excavator: Turn on the excavator and allow it to idle for a few minutes. Observe any unusual sounds or vibrations from the hydraulic system. For example, if you hear a high-pitched whining, it could mean air is trapped, and if you feel strong vibrations, it might suggest an issue with the pump.
- Operate the Hydraulic Functions: Test the hydraulic functions, such as lifting the boom or moving the bucket. Check if the system responds smoothly without any delays.
- Monitor the Pressure: Use a pressure gauge to check the hydraulic pressure levels. Make sure the pressure is within the normal operating range for your machine.
Step#11 Perform Final Checks and Maintenance
After testing the excavator, the last step is to perform final checks and maintenance to make sure everything is ready for operation. Here are the steps:
- Check All Connections: Inspect all hydraulic connections, bolts, and hoses. Tighten any loose fittings and confirm everything is secure.
- Refill Hydraulic Fluid: Check the hydraulic fluid level and top it off if necessary. Make sure the fluid is clean and free of debris.
- Inspect for Leaks: Run the excavator again briefly and check for any new signs of leaks around the pump and hoses. Address any issues immediately.
- Inspect for Leaks: While the excavator is running, inspect the hydraulic hoses and connections for any signs of leaks. If no leaks are found, the test is successful.
Conclusion
Learning how to repair an excavator hydraulic pump is essential for anyone looking to maintain their equipment and avoid costly downtime. By following the correct steps and using the right tools, you can ensure the pump functions properly, extending the life of your excavator and improving its overall performance.
We hope this guide has helped you learn how to repair an excavator hydraulic pump. If you need specific excavator parts but are on a tight on budget due to the high prices in the market, consider EPO. We offer our products at 30-60% lower prices than other brands while still delivering the same performance. Contact us today for same-day quotations!